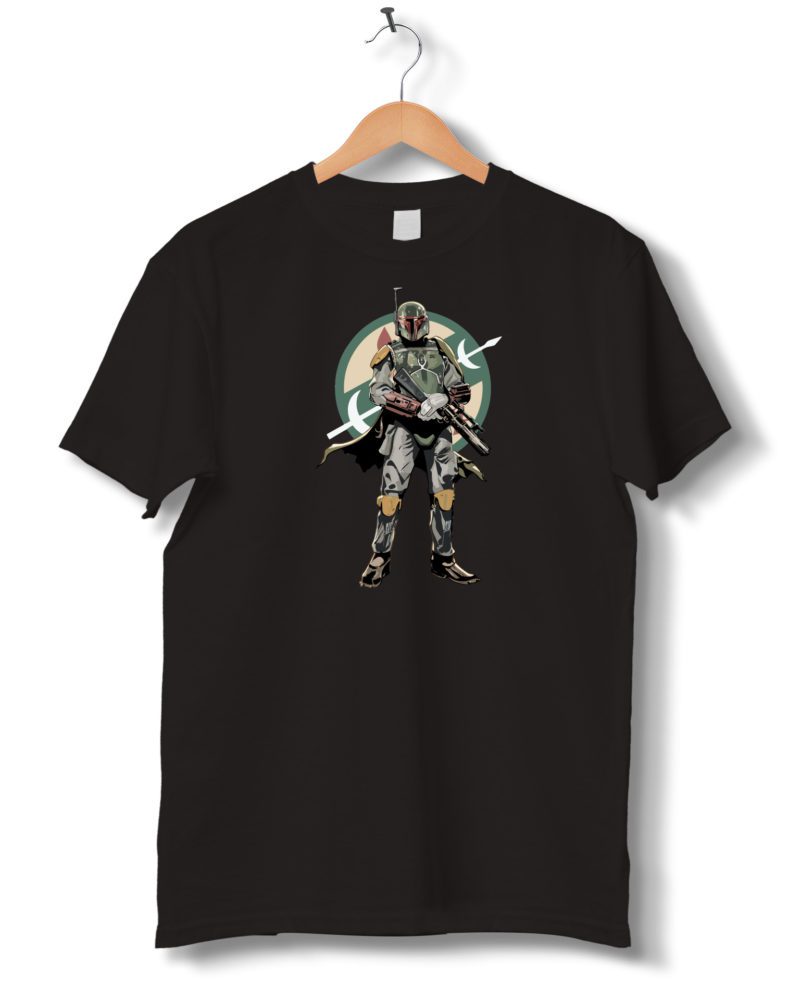
Introduction to Cutting a T-Shirt
Today we will be covering how to cut a t-shirt into a tank top. But first, here are five reason that you should repurpose your old t-shirts to create tank tops.
- Fashion: Tank tops are a popular summer staple, and cutting a t-shirt into a tank top is a quick and easy way to create a new and stylish piece of clothing.
- Comfort: Tank tops are generally more breathable and comfortable to wear in warmer weather than a t-shirt, so cutting a t-shirt into a tank top can make it more suitable for hot weather.
- Personalization: Cutting a t-shirt into a tank top allows you to create a unique and personalized piece of clothing. You can experiment with different cutting techniques and styles to create a tank top that reflects your personal style.
- Upcycling: Cutting a t-shirt into a tank top is a way to give new life to an old or worn-out shirt. It’s also a great way to make use of a shirt that no longer fits or is no longer in style.
- Cost-effective: Creating a tank top from a t-shirt is a cost-effective way to add a new piece of clothing to your wardrobe. Instead of buying a new tank top, you can use an old t-shirt you already own and save money.
Getting Started
Cutting a t-shirt into a tank top is a simple and easy way to give new life to an old shirt. Here is a step-by-step guide on how to do it:
Materials:
- T-shirt
- Scissors
- Measuring tape or ruler
- Chalk or fabric pen (optional)
- Pins (optional)
Step 1: Measure and Mark
Measure the desired length of the tank top, starting from the bottom of the shirt. Use a measuring tape or ruler, and mark the measurement with chalk or a fabric pen.
Step 2: Cut off the Sleeves
Cut off the sleeves of the shirt, just below the armpit. Be sure to cut straight across.

Step 3: Cut off the Collar
Cut off the collar of the shirt, leaving a small amount of the collar intact if you want a finished look.

Step 4: Cut the Bottom of the Shirt
Cut the bottom of the shirt along the mark you made in step 1. Cut straight across and make sure the cut is even.
Step 5: Finish the Edges (optional)
You can use a serger or zigzag stitch on a sewing machine to finish the edges of the tank top, or use a fabric that doesn’t fray. If you’re using a fabric that frays, you can also use a fray-check solution to prevent the edges from unraveling.
Step 6: Try it on
Try on the shirt to make sure it fits the way you want it to, and make any necessary adjustments.
Step 7: Wear it!
Your new tank top is now ready to wear!
Some tips:
- Use a t-shirt that is made from a lightweight, breathable fabric for a comfortable fit.
- If you’re not sure about the length or fit of the tank top, try it on before cutting to make sure you’re happy with the results.
- You can experiment with different cutting techniques to create different styles of tank tops, such as a racerback or a scoop neck.
- Be sure to use sharp scissors for a clean cut.
- If you’re new to sewing, it’s a good idea to practice on an old shirt before cutting your favorite one.
With a few simple steps and a bit of creativity, you can easily turn an old t-shirt into a new and stylish tank top. Have fun and enjoy your new creation!


